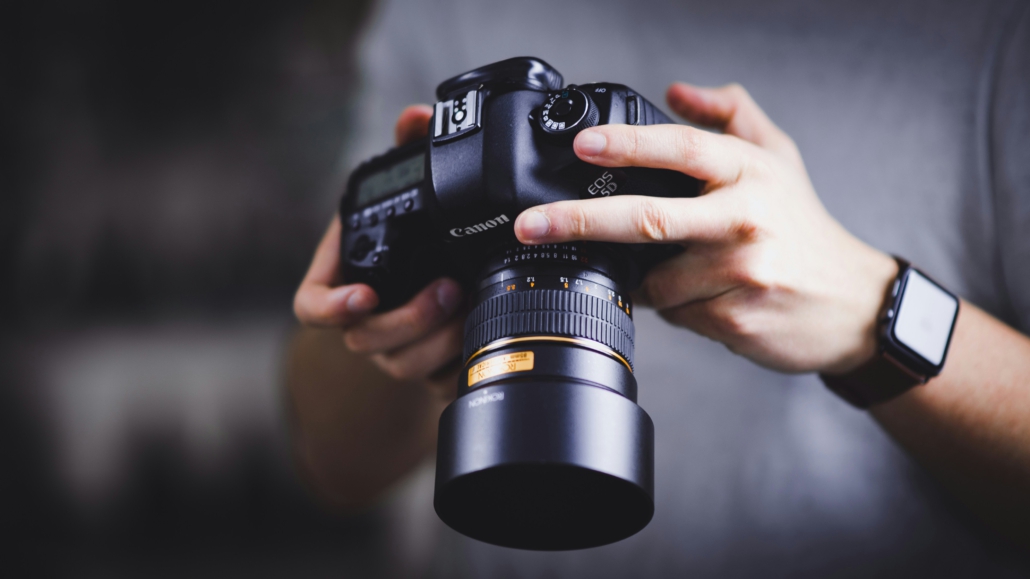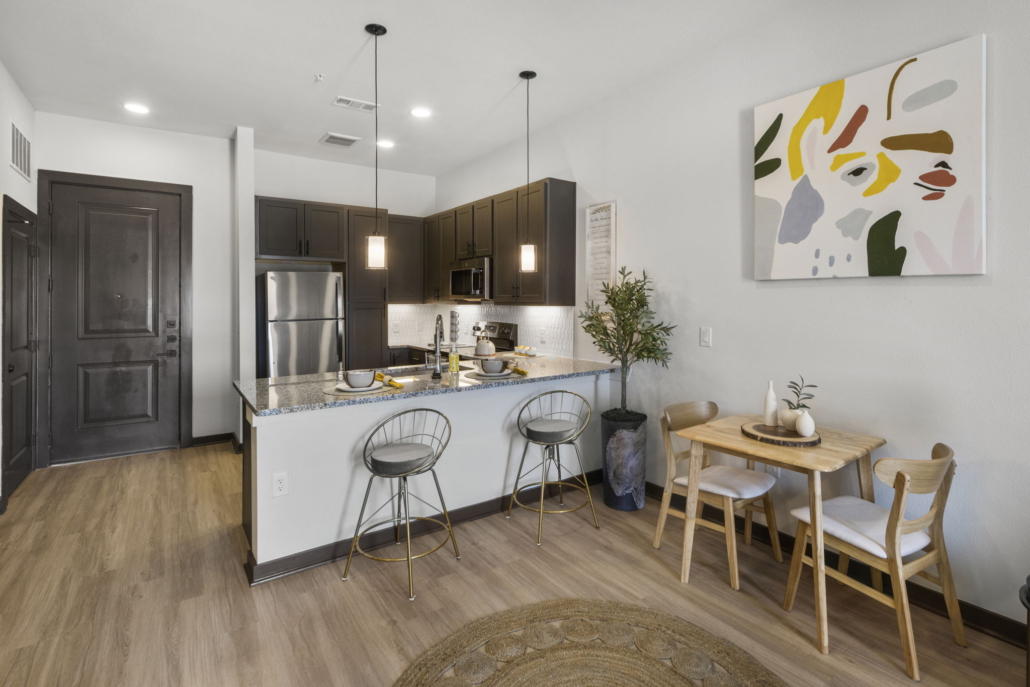
In the fast-paced, high-stakes Austin and Hill Country real estate market, standing out requires more than just high-quality visuals—it demands proof. Professional photography is the baseline; it’s expected. But when you’re listing a unique luxury property, a complex commercial space, or a custom build with specific technical features (like elaborate utilities or high-end mechanical systems), you need more than great lighting; you need precise, verifiable data.
Boko Media isn’t just another real estate photography Austin vendor; we are your Technical Asset Partner. We combine visual marketing excellence with high-precision 3D scanning technology, delivering assets that traditional photographers simply cannot. We offer standard high-definition photography and specialized video services for real estate in Austin, but our true competitive edge lies in leveraging data to reduce risk, qualify buyers, and simplify documentation.
1. Data-Grade Accuracy: The Unseen Advantage in Austin Real Estate Photography
Most real estate photographers in Austin deliver beautiful JPEGs. Boko Media delivers beautiful JPEGs plus verifiable, dimensionally accurate 3D models. This is the difference between showing a property and documenting an asset.
- The Photographers’ Limit: They capture the look of the property, relying on wide-angle lenses and strategic lighting. Their output is perfect for MLS thumbnails but provides no actionable data for architects, engineers, or serious commercial buyers.
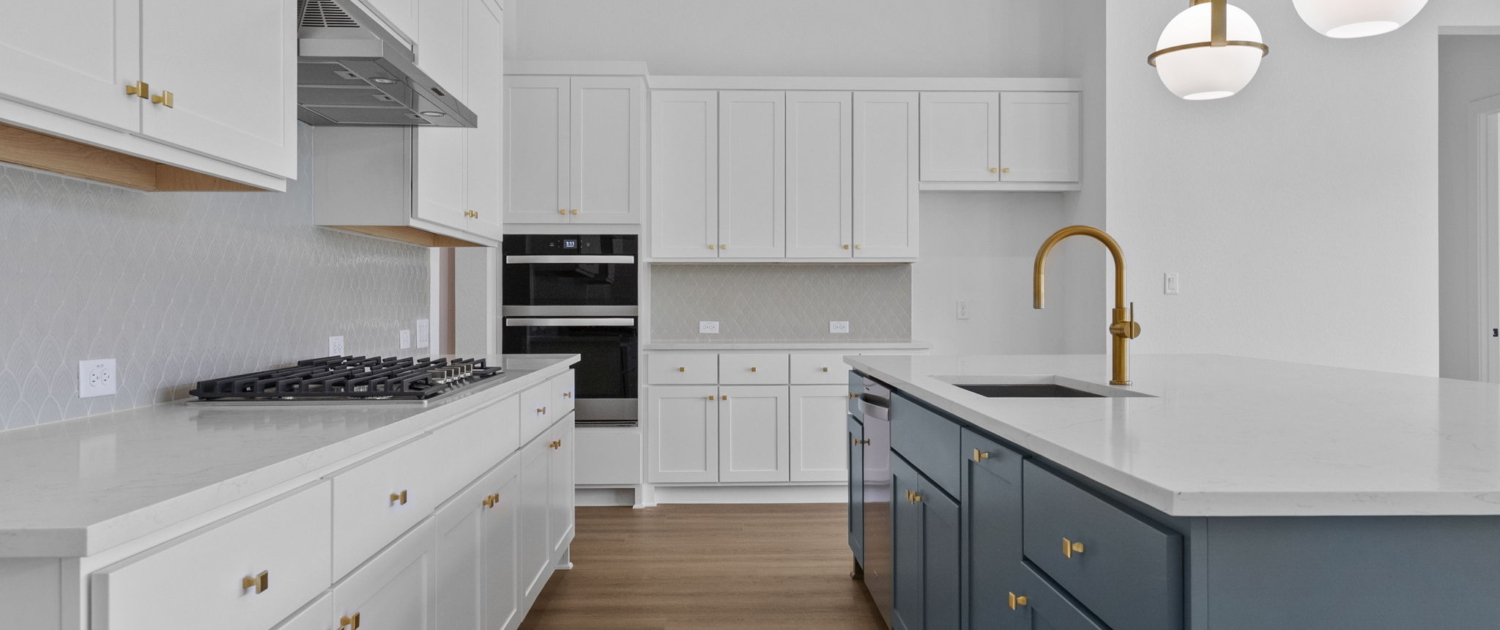
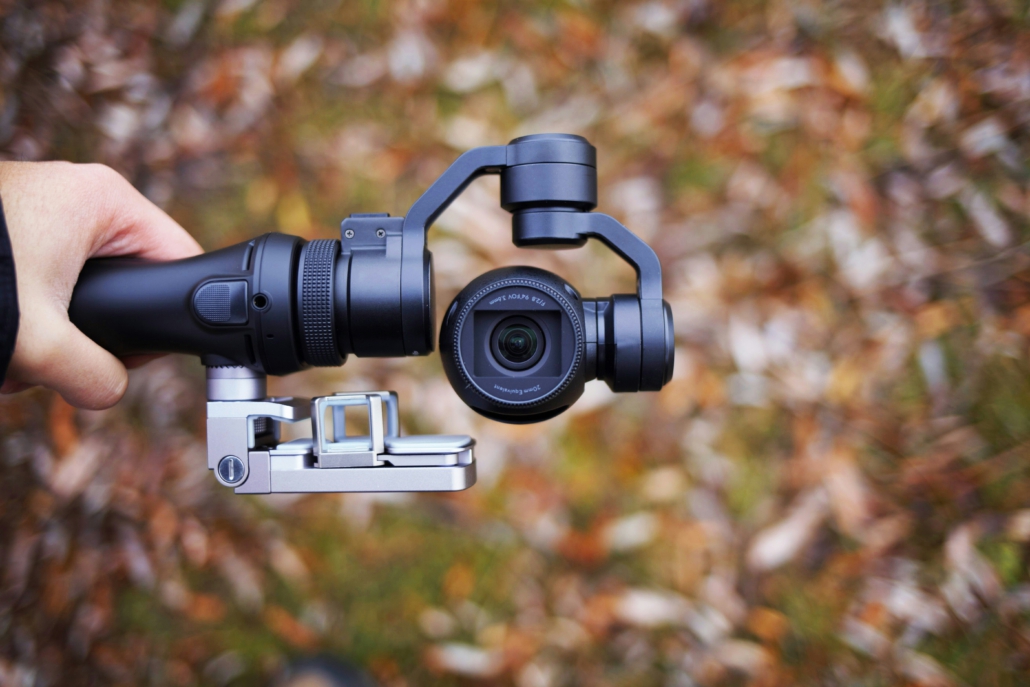
- The Boko Media Advantage (Matterport & Scanning): We capture the property’s precise reality. Our 3D scans ensure every measurement, wall location, and floor elevation is accurate within millimeters. This level of dimensional accuracy is crucial for buyers planning renovations, architects confirming design feasibility, or commercial leasing agents needing to verify exact square footage.

2. Deliverables that Reduce Risk and Optimize the Sales Lifecycle
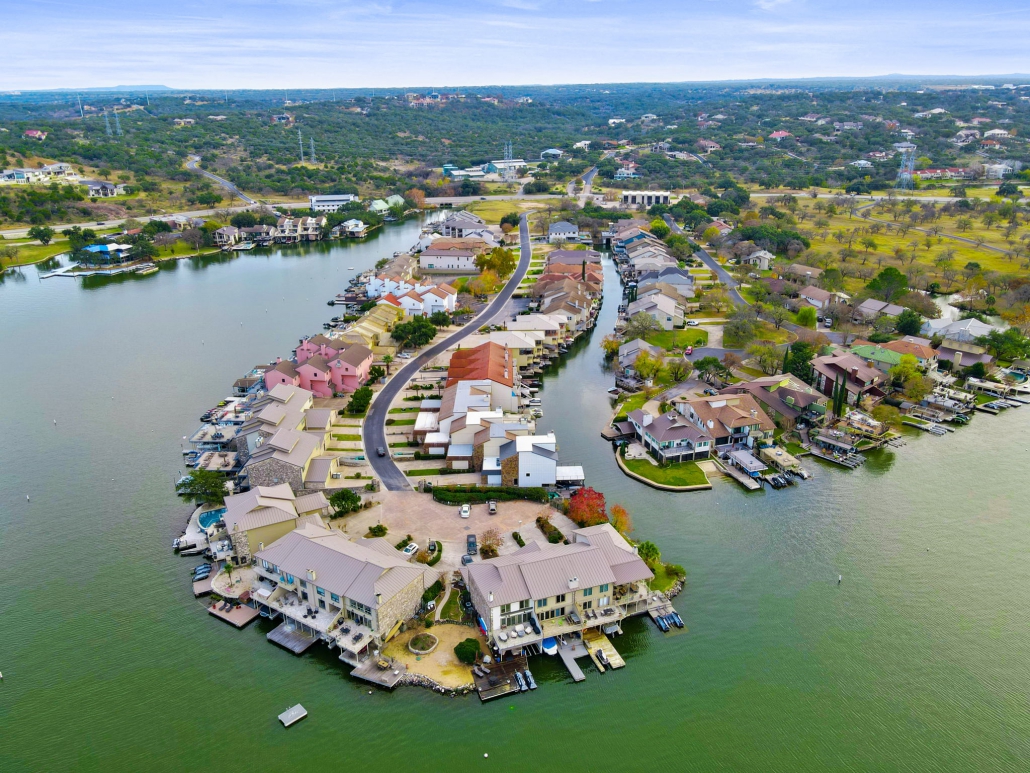
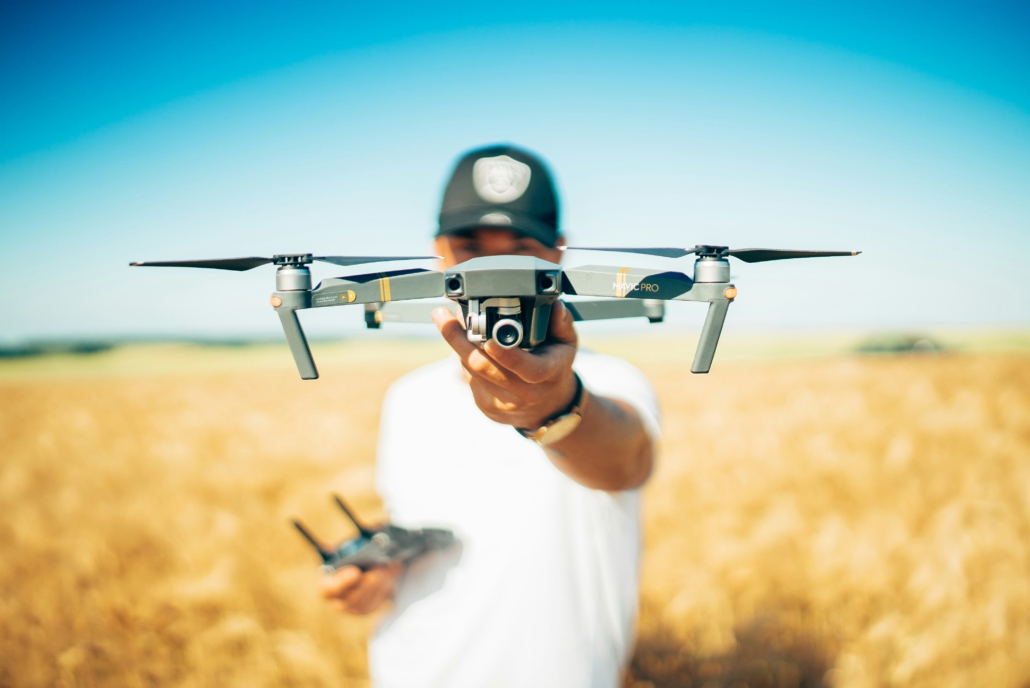
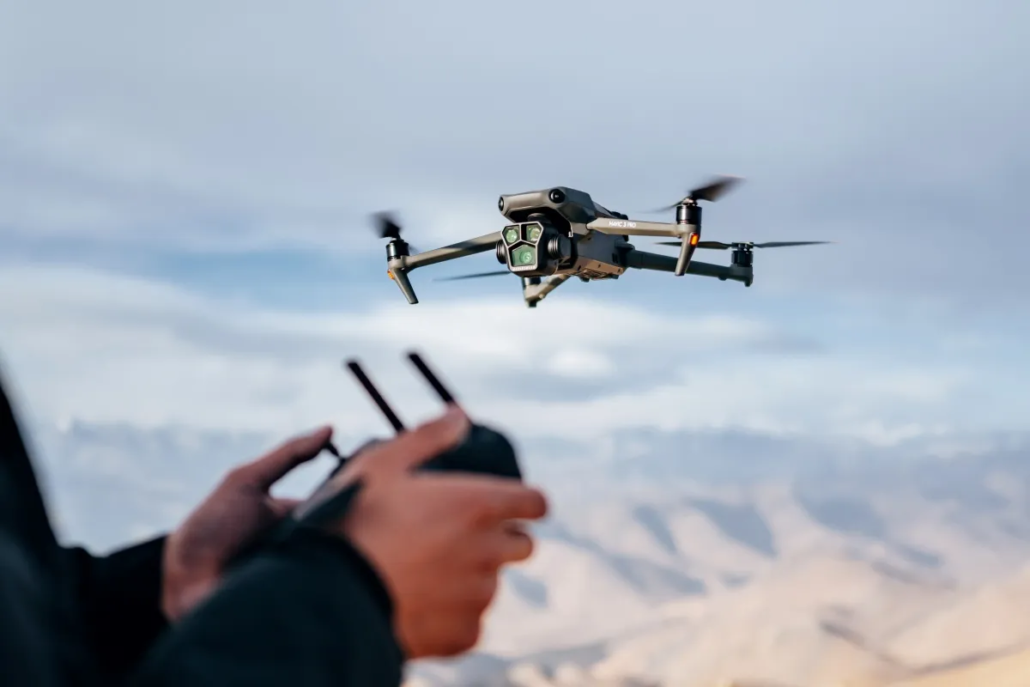
A traditional photographer’s service ends with the digital delivery of photos and a gallery link. Our deliverables are designed to be used throughout the entire sales, closing, and ownership lifecycle, providing enduring value long after the closing date. We seamlessly integrate services like drone photography in Austin with our 3D data capture to provide a holistic, verifiable digital twin.
| Boko Media Deliverable | Traditional Photographer Output | Why It Matters to Your Client |
|---|---|---|
| BIM/CAD Ready Models | Simple Floor Plan Sketch (often inaccurate) | Perfect for architects/engineers reviewing commercial spaces or buyers planning additions. |
| Accurate Floor Plans | None or Basic Sketch | Reduces post-closing disputes over square footage and layout, safeguarding the transaction. |
| Verifiable 3D Tours | 2D Slideshow/Video Walkthrough | Eliminates wasted showings by fully qualifying long-distance or passive buyers 24/7. |
| Insurance Documentation | None | Provides a permanent, highly detailed, and verified record for insurance, appraisal, and facility management purposes. |
3. We Are Experts in Complex Property Documentation and Construction Support
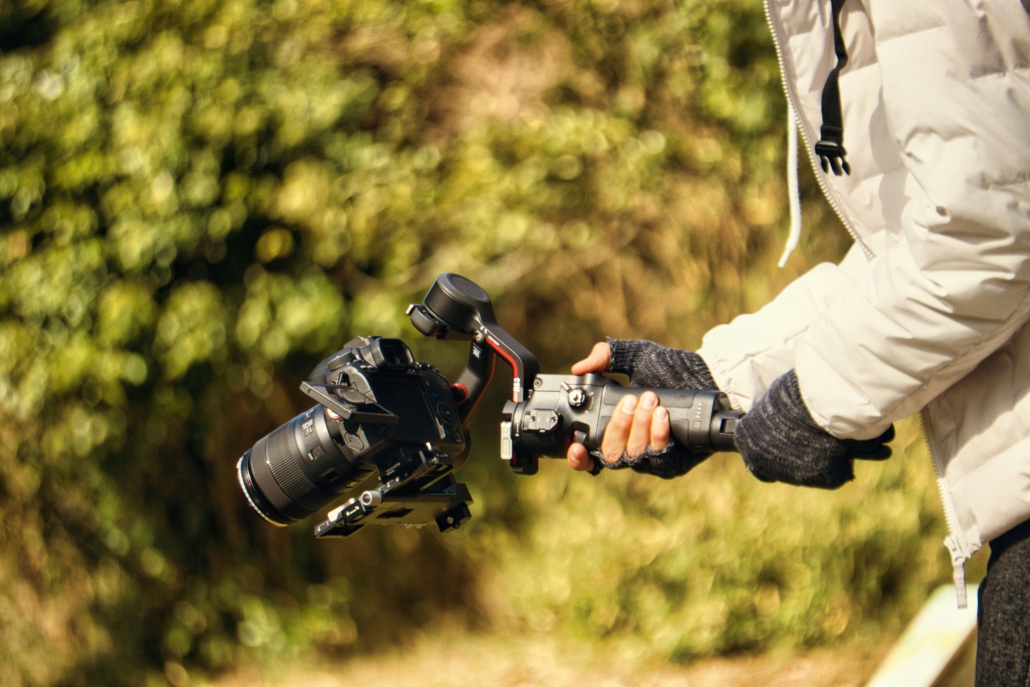
The more unique, complex, or large the property, the more critical our technical expertise becomes. We thrive where standard photographers struggle, extending our value beyond simple marketing photos. This is why our video services for real estate in Austin are coupled with data delivery.
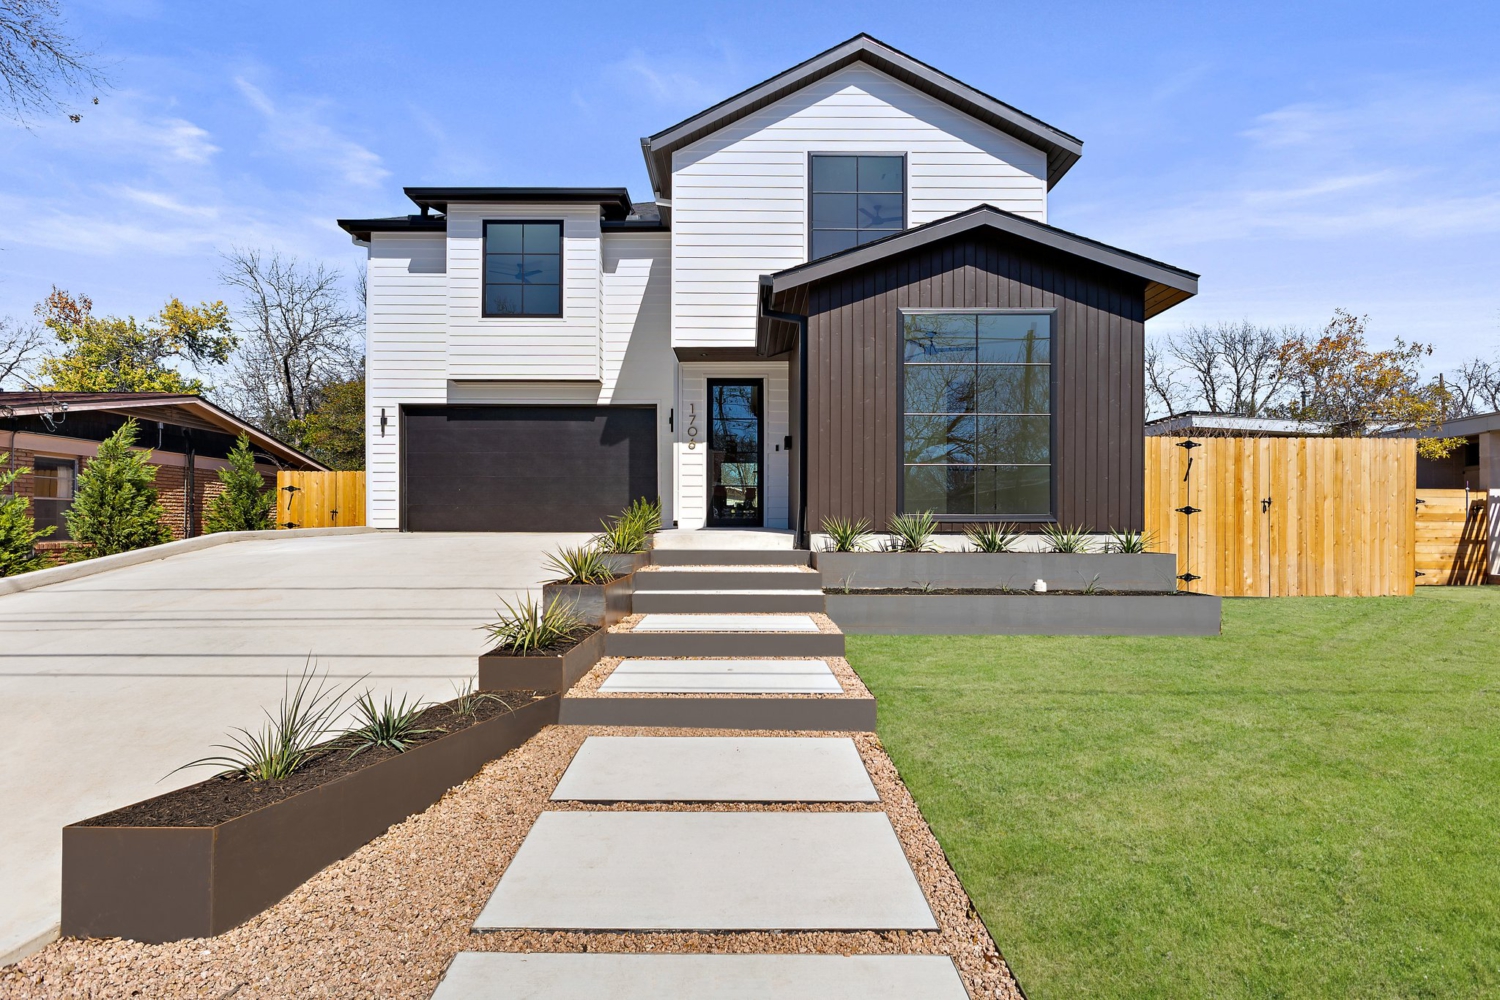
- For Custom Home Builders: Beyond the final sales photos, Boko Media provides a critical service for construction management and liability reduction. We use Matterport to capture interior MEP (Mechanical, Electrical, Plumbing) As-Builts before the drywall goes up. This locked-in, time-stamped digital record is invaluable for warranty claims, future renovations, and quick troubleshooting, ensuring the builder provides a complete, accurate digital handover to the client and greatly reducing long-term liability.
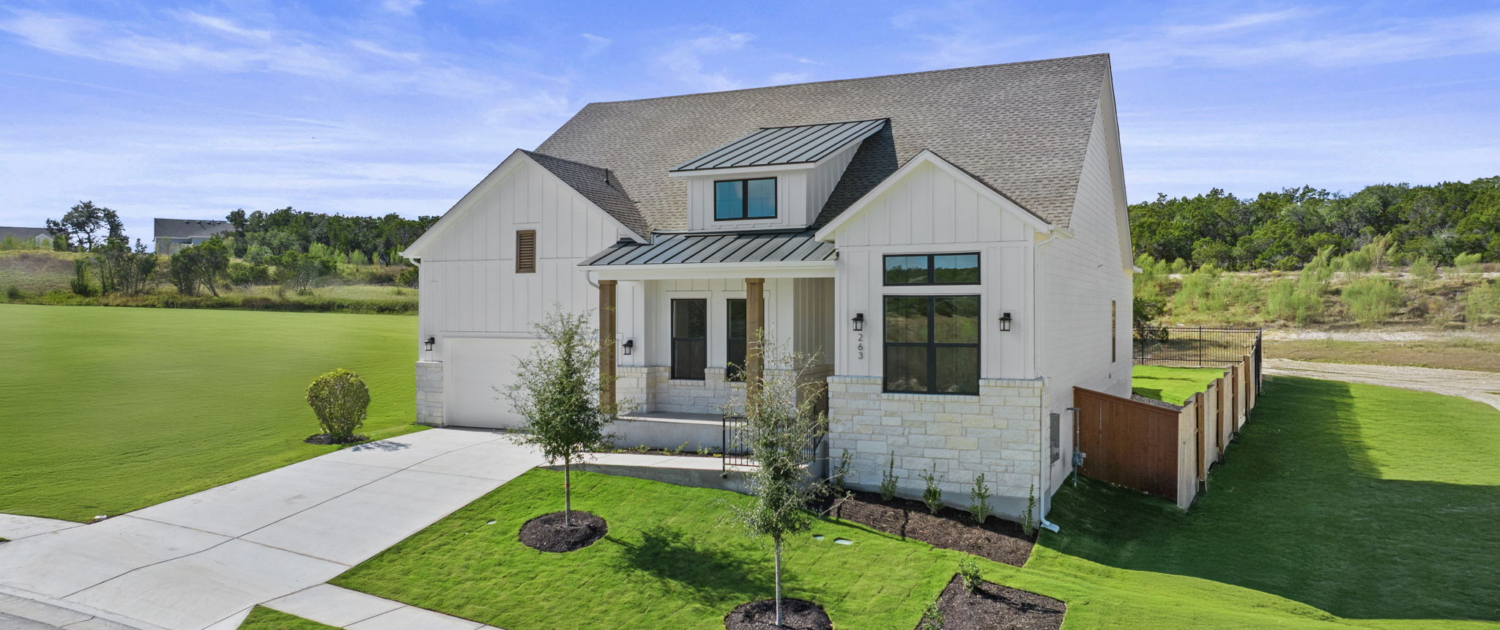
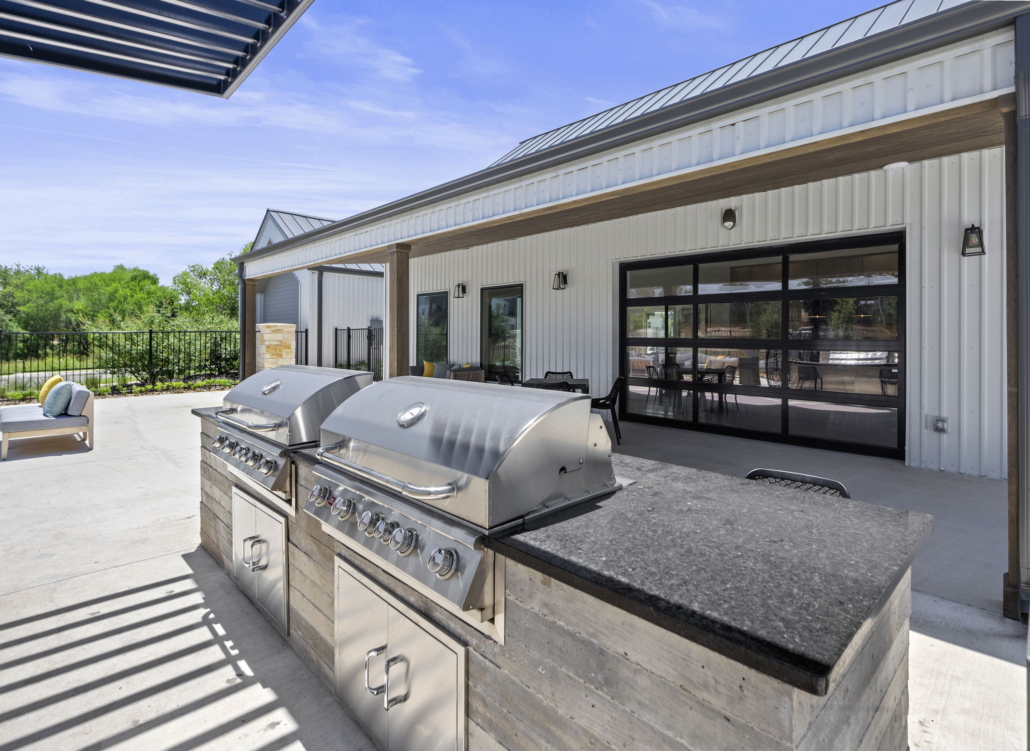
- Estates and Ranches: We don’t just photograph the house; we accurately model the detached structures (like the man cave, barns, and equipment garages) and integrate them into the 3D tour, providing a cohesive digital twin of the entire asset. Our specialized drone photography Austin capabilities capture the full scope of large acreage properties, providing highly detailed orthomosaic maps alongside stunning aerial visuals.
- Commercial & Industrial: For office, warehouse, or retail spaces, our output can be integrated directly into our clients’ Computer-Aided Facility Management (CAFM) systems. We don’t just capture a property tour; we capture a long-term business asset.
4. Local Focus, Technical Depth, and Professional Service
We are based right here in the Texas Hill Country, allowing us to offer rapid scheduling and a dedicated focus on the unique luxury and acreage properties that define this market. We understand that selling a $2 million estate or a complex commercial build requires technical diligence that matches the price tag. When you are searching for premium real estate photography Austin services, you are looking for a partner who can elevate your professionalism.
Our commitment to integrity ensures you receive prompt, transparent communication and deliverables that are not only beautiful but 100% accurate.
Don’t just hire a photographer—hire a technical asset partner who understands the difference between marketing visuals and verifiable data. Choose Boko Media to provide the superior, data-backed marketing and documentation assets your Austin and Hill Country listings deserve.